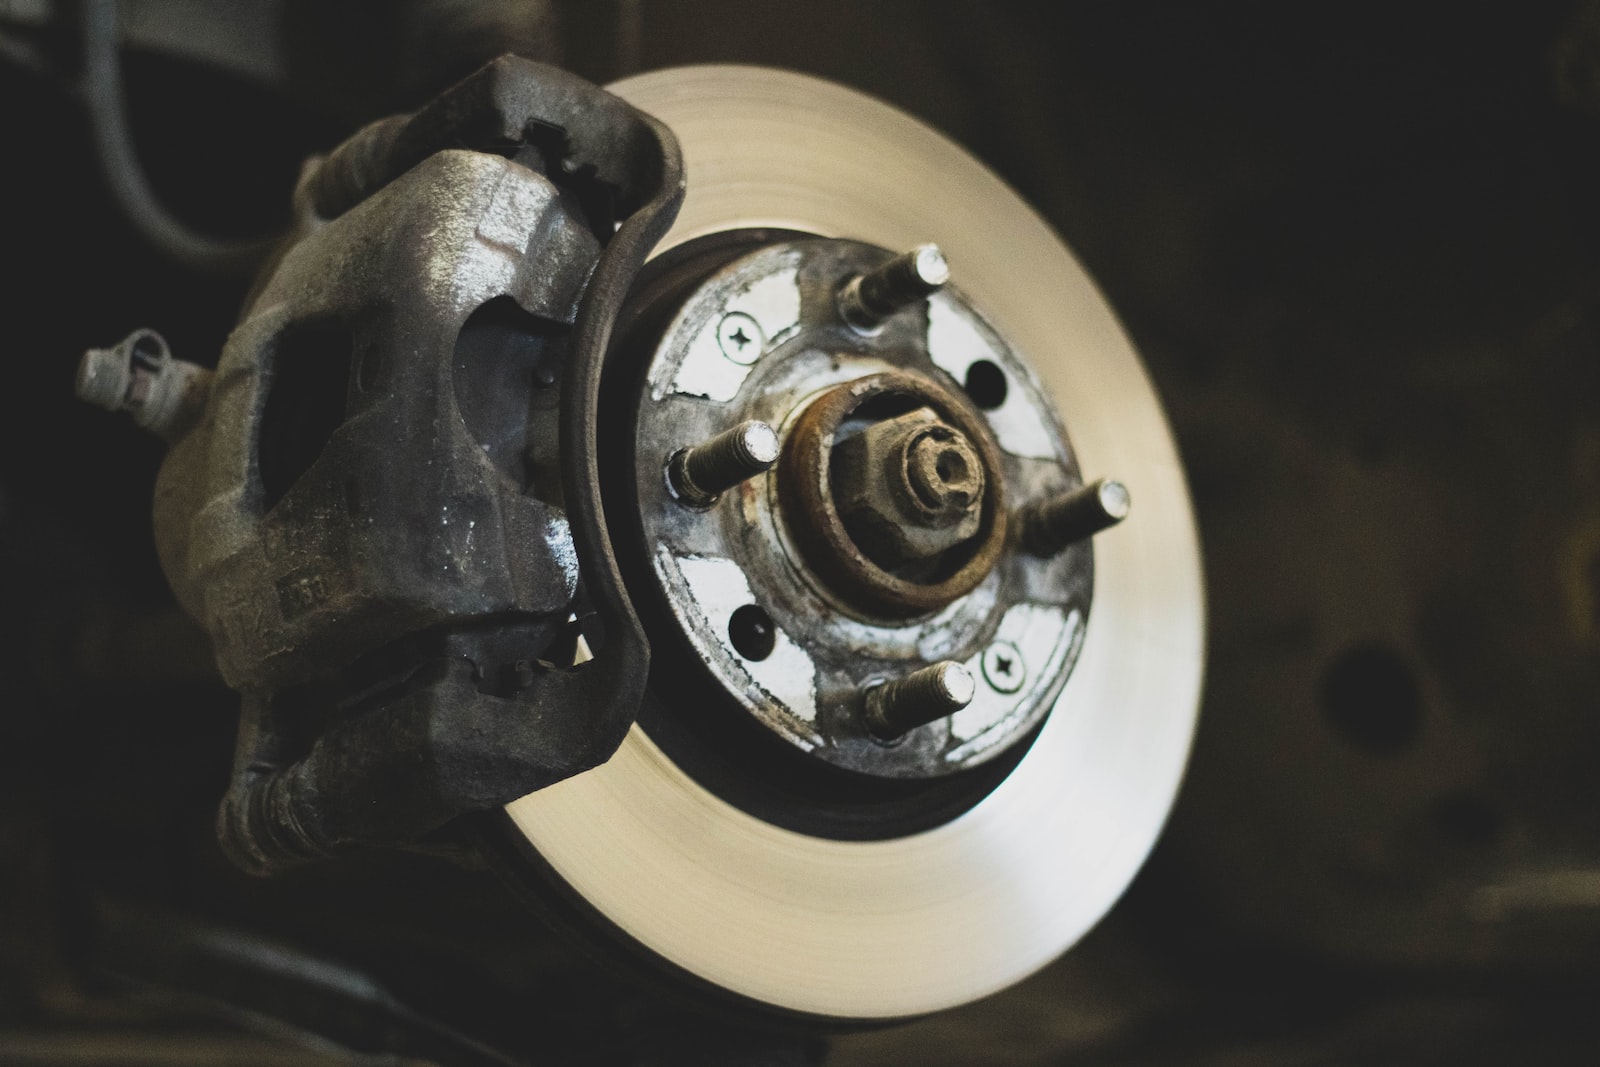
It is important to change a valve cover gasket if the vehicle has high miles or is over 7 years old. The reason is, the valve cover gasket prevents oil from leaking externally. First start by conducting a simple inspection; locate the valve cover and look for signs of oil leaking around the valve cover gasket. Usually when a valve cover gasket starts to leak; the engine oil starts to leak from the top of the engine and slowly drips to the bottom. In addition, if the valve cover gasket very worn out, it may start to leak into the spark plug tube and cause the vehicle to misfire. When this happen, the vehicle will start to run rough or it may not start at all. Let’s start by having a good set of basic tools such as metric and standard socket set and wrenches, a few 3/8” extensions, pliers, new valve cover gasket, tube seals, permatex silicone and a rubber mallet.
 We will use a basic vehicle such as a Honda Civic as a demonstration how to replace a valve cover gasket. As always safety first, so disconnect the negative side of the battery. Next, remove the ignition coil or spark plug cables. Remember which cylinder the ignition coil and spark plugs goes to. You can label it with a permanent marker if it helps. Moreover, remove all the bolts holding down the valve cover. Usually it will be 10mm bolts. Remove the pcv hoses if it is attached to the valve cover. On some vehicle, the intake manifold will be on the way of the valve cover so that needs to be removed. The next step is to remove the valve cover. Use a rubber mallet and tap on the outside of the valve cover to break it loose. Remove the valve cover.
The next step is to clean the surface of the valve cover gasket and the mating surface on the head where it meets. Use a razor blade or a wire brush to clean the surface. After all of that is done. Replace the valve cover gasket and use silicone on each corner of the valve cover. Moreover, replace the tube seals as well. In addition, you may also want to replace the rubber grommet that holds the valve cover in place if comes with your valve cover kit. Install the valve cover and install everything in reverse order. Start your vehicle and inspect for possible leaks.