A Review of the Skoda Extended Warranty

black toyota car steering wheelIf you already own a Skoda, you should consider getting the extended warranty. Various studies have shown that Skoda drivers are some of the most satisfied on the roads. However, it does not mean you should not prepare for the worst. With this warranty, you will be covered at all times in case the Skoda breaks down or develops an issue that forces you off the road. When costly repairs arise, you will never have to pay for them.

How Does the Extended Warranty work?

The extended warranty guarantees that you are covered at all times in case it breaks down or it experiences sudden damage. These warranties are issued by a third party and are usually quite comprehensive. The extended warranty will usually last much longer than a standard warranty. All you need to do is make a small monthly payment.

Is it worth it for a Skoda?

Skoda has spent a lot of time revamping their brand. Today, it is one of the most reliable European brands. Drivers of the vehicles rarely report any major nagging issues. Thus, it can be easy to see some think the extended warranty is not worth it.

How Much Does it Costs

To keep the costs down, it is always important to shop around. Various third parties offer this warranty and prices can vary from vendor to vendor. There are useful services online that can do the work for you and find something that is within your budget.

Getting an exact figure for the extended warranty is not easy. This is because various elements are considered when getting the warranty. For instance, it will depend on the age, model, engine size, fuel type, the retail value of the Skoda and its service history.

Eligible Models

If you have a functional car that has been placed through regular service and you have taken good care of it, you probably qualify for this warranty. Skoda has minimal requirements hen deciding which car quality for the service. In general, if you own any of the models below, you probably qualify for the extended warranty.

  • Fabia
  • Rapid
  • Citigo
  • Octavia
  • Superb
  • Kodiak
  • Yeti

However, if your Skoda is not part of the above list, you should still check with Skoda. They will help you determine if your car might qualify. The best thing about the Skoda extended warranty is that it can be bought online. In just a few minutes, you will have the peace of mind you need when driving your Skoda.

A Few Facts

Once you get the warranty, you have to renew it a few earlier than the next expiry date. This way, you are never out of coverage when an accident occurs. When you buy a new Skoda, the company will typically cover the car for 3 years or for 60,000 miles from the date that it was manufactured. It mainly covers defects that might cause the car to stop functioning properly. After that, you need the extended warranty, which covers you for the next 12 months from costs of replacing and repairing any parts in your Skoda.


How to change strut on a car

If you are able to do repairs and maintenance by yourself on your car you can save money. “If you do maintenance on your car you should be sure that you do it right. If necessary ask a professional before you start.”, says Daniel from the site Bilforsikring.

Today’s topic is how to replace a strut. It is important to change your strut when it is worn. A worn strut can cause a bouncy ride, wheel shimmy, vibration after hitting a speed bump and worn tires. Here are some of the common tools you will need to change a strut. First, you will need a good spring compressor. I recommend getting a spring compressor that has a locking mechanism. Since springs are under load it is dangerous when compressing and it can fly out and injure someone. A locking mechanism will hold the spring in place and secure it. Second, get yourself a good set of tools consisting of sockets, ratchet and extension. You will also need a breaker bar, floor jack and jack stand.

person in blue denim jeans and black and white adidas sneakers riding on black motorcycleFirst, with the vehicle on the floor, break loose the lug nuts but do not remove it. Next, raise the vehicle by using the floor jack. Lift the vehicle and safely place the jack stand underneath the lifting points. Make sure to chuck the back wheel to prevent the wheel from rolling back and set the hand or foot brake. Next, remove the lugs and remove the wheels. Usually, the strut will be mounted. There will be a few mounting nut on top of the strut tower. Remove the mounting nut. Moreover, remove the strut that is bolted to the steering knuckle. Afterward, you may need to remove the axle and remove the tie rod to make more space. Moreover, you may also need to remove the brake caliper, brake pads, and remember to safely secure the brake caliper with a bungee cord or hanger.

Remove the strut and place the spring compressor on each side of the spring. Make sure to compress each side while at the same time alternating each side slowly. Now the spring is compressed; point the strut away from you and remove the top nut holding the spring in place. Replace the strut. Install the strut in reverse order. Make sure all bolts are tight and tires at torque to specification. In addition, you may want to take the vehicle for a test ride and make sure it is no longer bounce and vehicle vibration has gone away. Moreover, conduct a quick bounce and rebound test. On each corner of the vehicle press the vehicle downward. The vehicle should go down once and go up once. If it does that means the strut is good. If it bounce more than once that means the strut is bad.

How To Test And Change Ignition Coil

Today’s topic is how to test and change ignition coil. An ignition coil is responsible for providing spark to the spark plug. Without the ignition coil, the spark plug will not be able ignite the fuel that is sprayed into the engine. A faulty ignition coil will cause an engine to misfire which will ultimately result in a loss of performance. Sometime, one or more faulty ignition coil is enough to prevent the vehicle from starting. A faulty ignition coil will trigger a P0300, P0301 P0302, and P0303, P0304 and so on. Moreover, it also depends which ignition coil has failed. Some of the common sign of a faulty ignition coil are:  rough idle, difficult to start, misfire, random misfire, hesitation, loss of power and no start.

Here are some ways to test if you have a faulty ignition coil. First, conduct a power balance test. With the engine running, simply disconnect one ignition coil at a time. A good ignition coil will result in a decrease in rpm. That means the ignition coil is function and that coil should not be replaced. Continue to conduct the power balance until there is no change when disconnecting the ignition coil. When there is no change that means that ignition coil on the cylinder it was disconnected is faulty. In addition, you can also use a test light to test for spark. Remove an ignition coil and connect the test light to battery negative. With the engine running, point the test light close to the boot of the ignition coil. If the ignition coil is good; there should be spark.

Next, you will need an OBD 2 scan tool to confirm the ignition coil is faulty. Locate the OBD 2 port and connect the scan tool. Next, press the read code button. The scan tool will give you a few codes if the check engine light is on. For example: Let’s say you disconnected cylinder number two and there is no change in rpm and let’s say the scan tool detected fault in cylinder number two or P0302. That means the ignition coil is faulty on that cylinder. When replacing an ignition coil, try to stick with OEM brands and not aftermarket parts. Usually, an aftermarket part will not last as long as OEM brands and it may not provide the full spark and spark plug needs.


How to change a radiator


Changing a radiator
is one the proudest achievement a DIYer can achieve. On top of that, you can easily save yourself a few hundreds of dollars. In this article, we will discuss the basic of a radiator, tools you may need, and what to do after replacing a radiator so the vehicle will not overheat. Let’s begin. Start by getting yourself a few basic tools. You will need a good set of metric and standard socket set and wrench. The tool set should also come with multiple ratchets in the size of ¼”, 3/8” and ½”. In addition, you will also need a channel lock plier, hose puller, oil pan and a funnel. In this example, we will use a common vehicle (Honda civic) as a basic vehicle for replacing a radiator.

Internal combustion engine and other components of mechanism of expensive luxury sports car parked next to wall decorated with graffitiFirst, start by disconnecting the battery for safety reason. Next drain the coolant by removing the drain plug.  Moreover, locate the cooling fans and remove the cooling fan which is normally held on by a few 10mm bolts. On some vehicles, the cooling fan may be held on by clips which need to be removed. Next, remove the upper and lower radiator hoses. You can use a channel lock plier to remove the hoses or a hose puller which will make it easier to remove. On some vehicle the radiator will have the upper brackets holding the radiator in place; remove the brackets. There may be a transmission line you will need to remove depending on the make and model. Remove the transmission line if needed. You may need a flare wrench to remove the transmission line.

After the line has been removed, it is time to remove the radiator. Remove the radiator and compare it to the new radiator. At this point; replace old parts as needed such as upper and lower radiator hoses and radiator cap. Install everything in reverse order such as the radiator and cooling fan. Make sure all the hoses and transmission line are tight. Replace any fluid that was lost during the removal such as antifreeze and transmission fluid. Connect the battery and start the engine with the radiator cap off. Allow the vehicle to idle for 20 minutes and at the same time topping off the radiator with coolant. During this process the cooling system will self bleed for air and pocket of air that may be in the system; Once 20 minutes has surpassed, replace the radiator cap and the vehicle is ready for a test drive.

How to change a valve cover gasket

It is important to change a valve cover gasket if the vehicle has high miles or is over 7 years old. The reason is, the valve cover gasket prevents oil from leaking externally. First start by conducting a simple inspection; locate the valve cover and look for signs of oil leaking around the valve cover gasket. Usually when a valve cover gasket starts to leak; the engine oil starts to leak from the top of the engine and slowly drips to the bottom. In addition, if the valve cover gasket very worn out, it may start to leak into the spark plug tube and cause the vehicle to misfire. When this happen, the vehicle will start to run rough or it may not start at all. Let’s start by having a good set of basic tools such as metric and standard socket set and wrenches, a few 3/8” extensions, pliers, new valve cover gasket, tube seals, permatex silicone and a rubber mallet.

red and black engine bayWe will use a basic vehicle such as a Honda Civic as a demonstration how to replace a valve cover gasket.  As always safety first, so disconnect the negative side of the battery. Next, remove the ignition coil or spark plug cables. Remember which cylinder the ignition coil and spark plugs goes to. You can label it with a permanent marker if it helps. Moreover, remove all the bolts holding down the valve cover. Usually it will be 10mm bolts. Remove the pcv hoses if it is attached to the valve cover. On some vehicle, the intake manifold will be on the way of the valve cover so that needs to be removed. The next step is to remove the valve cover. Use a rubber mallet and tap on the outside of the valve cover to break it loose. Remove the valve cover.

The next step is to clean the surface of the valve cover gasket and the mating surface on the head where it meets. Use a razor blade or a wire brush to clean the surface. After all of that is done. Replace the valve cover gasket and use silicone on each corner of the valve cover. Moreover, replace the tube seals as well. In addition, you may also want to replace the rubber grommet that holds the valve cover in place if comes with your valve cover kit. Install the valve cover and install everything in reverse order. Start your vehicle and inspect for possible leaks.

How to change disc brakes

Today’s topic is about how to change disc brakes for DIYer. Changing disc brakes is one of the easiest yet useful skills a person can attain when it comes to automotive repair. Let’s begin the step the step that is required to replace one. Here are a set of tools you will need to begin. First you will need a reliable floor jack and a good set of jack stand. Next, you will need a set of metric and standard socket tools, wrench and ratchet. Moreover, you will need C-Clamp, large channel lock pliers or a brake disc spreader. In addition, you will need brake cleaner, brake caliper lube, and something to hang the caliper i.e a piece of hanger or a bungee cord. Now you have all the required tools to replace your disc brakes. Let’s begin.

white and silver round deviceStart by locking the rear brakes if you are changing the front brakes by setting the foot or hand brakes. Use wheel chuck or a piece of wood to lock the wheels that are not being worked on. Break loose the wheel lug but do not remove it completely. Next, place the floor jack on proper lifting points on the vehicle. Lift the vehicle and slowly place the vehicle on jack stands.  Remove the wheels. Locate the brake disc caliper and find the bolts holding it in place. Remove the bolts. Usually there are two bolts. One on top and one on the bottom; remove the caliper and use a brake disc spreader and compress the caliper piston inward. You can also use a large channel lock or C-Clamp to compress it. After piston has been compressed inward; Use a bungee cord to hang it.

Next, remove the old brake disc and inspect the brake hardware. At this point feel free to replace the brake hardware as needed. Use brake cleaner and clean the entire brake area. Allow it to dry for a few minutes. Next lube the sliding pins and make sure it slides in and out freely. Replace the old disc brakes with new ones. Use brake quieter as needed and it put it on the back side of the new disc brakes. Afterward, install the caliper and tighten all the bolts At this point, you can install the wheel and lift the vehicle and let it sit on the floor. When you are done, the last step is to pump your brake pedal a few times until it becomes firm. Now you disc brakes are set and you are ready to take it for a test drive.

“Changing your disc brakes on your cars may be one of the things you may be able to do yourself. If you are in doubt you shoud always consult a professional mechaninc”, says Daniel from Bilforsikring.

Auto Insurance 101 Explained

For majority of consumers, auto insurance can cause confusion; there is an extremely wide range of insurance and it can be hard to recognize the kind of coverage you need to carry versus the kinds of coverage which you truly need to carry so as to shield yourself, but are not necessary.

How to Select Vehicle Insurance

When thinking of the amount of car insurance you need, it is ideal to carry out some study and discover what kind of insurance is needed by the state where you live.

Not each state needs similar rates of insurance. Some states need more kinds of insurance compared to others and states are different also, in regard to the quantity of coverage which is needed.

person holding pencil near laptop computerTherefore, be certain that you are aware of precisely what minimums are present in the state you reside. Also, you need to comprehend what varied kinds of insurance cover are present, so as to comprehend whether you require insurance coverage over and beyond the required minimum of the state you live.

Injuries are covered by bodily injury liability which you inflict on another person as you drive your car. In general, where this kind of coverage is concerned, it is normal to buy more than one; this is state minimums requirement (where you live), so as to shield your personal goods from being sued in case you cause harm to someone.

Personal injury protection popularly referred to as PIP or medical payments covers treatment of harm for the passengers and driver of the car. This kind of policy shall recompense lost wages and medical payments; this is determined by the rate of coverage.

Collision covers whatever destruction happens to your car in case of an accident, regardless of whether you are at fault. Obviously, a deductible shall be applicable. Your lender shall in overall, need this kind of coverage while you still have an outstanding loan on the car.

Comprehensive coverage caters for the loss of your car because of destruction by something, apart from a collision; for instance fire, theft, vandalism, natural disaster, etc.

Once more, your lender shall possibly need this coverage for a financial car. After your loan is repaid, you are the one to decide whether you desire to go on operating comprehensive and collision coverage.

Motorist coverage (uninsured and underinsured) can be useful in case you are involved in a hit and run or if someone hits you and they lack insurance or are underinsured.

When debating on the amount of insurance to take out, begin with the minimum quantity required by your state then ask yourself whether it is a requirement for you to take out any extra coverage because of lender requirements.

Keep in mind that however much we all wish we did not require insurance, in case we do, it can save on finances

Lastly, remember to weigh your options in regard to deductibles. Increasing your deductible can assist you to reduce your premiums and that can facilitate you taking out more insurance which is cheaper.

Simply ensure that you are able to fairly manage to pay the deductible in case you require utilizing it.

If you want to know more about car insurances you should give these sites a visit:

DMV.org – Very informative site. US Focused.

California Department of Insurance

Bilforsikring –  This site is Danish. But none the less it has a  number of interesting articles on car insurance. Use Google Translate if your Danish is not up to date 🙂

HDI.de – Another European site that you may find interesting.

Skidding countermeasures for winter driving

When it comes to a snowy road, not even tank tracks ensure 100% stability when driving at high speed, nor when swerving into a corner. There is a sensible increase in the number of accidents when the cold season sets in, and for good reason. Snow offers just a part of the traction gained on a dry road.

Combine this with speed and heavy braking and there you have it: your car slides out of control, eventually stopping into a snow bank, or worse, right into the rear bumper of another vehicle. Check out these countermeasures that will allow you to prevent, and ultimately regain control of a skidding vehicle when driving on snowy and icy roads.

Oversteer vs Understeer

asphalt road in between trees covered with snowThere is almost impossible to attain perfect steering in dry conditions, not even mentioning low-grip roads. As a result, one of the two phenomena occurs when changing direction: your car will either understeer (turn less than required) or oversteer (turn in more than you desire, with the rear kicking out of the curb).

Between the two, understeer tends to happen more often and be harder to counteract. Usually, your car understeers on a slippery road when too much input is provided in a short span of time. Otherwise said, if you turn your steering wheel too quickly, the tyres will lose grip and start moving on a straight trajectory. To overcome understeering, point your view towards the direction you want to travel and then slowly steer towards the outside of the curb. Once the car is parallel with the desired trajectory, straighten the wheel and slowly apply throttle.

If you notice your car moving way too fast towards the center of the curb and the rear wheels start sliding towards the outside in an arch, you are oversteering. Fortunately, there is an easy fix for this. Slowly steer into the curb until all four wheels are facing the same direction. This will increase grip and reduce peripheral spin of the rear axle. Once you’ve regained control, gradually steer towards the outside of the curb to regain a proper position on the road.

Whether your car is understeering or oversteering, there’s one particular issue you should really consider: don’t touch the brake pedal! Since your car is already sliding, wheels will lock instantly and cause complete loss of control.

Braking

In an ideal scenario, you shall be able to drive on winter roads without ever touching the brakes. But since we live in the real world, braking is inevitable at some point. Most modern cars feature at least an ABS (anti-lock braking system) that will prevent wheel locking upon braking. This way, you will be able to steer even when applying full brake power. Remember though to take turn the wheel slowly and steadily to avoid understeer or oversteer. Otherwise, your car will go sideways and ABS won’t help too much.

If you are driving a manual, learn how to use the motor brake. It’s highly effective on slippery roads and doesn’t lock your wheels. If you do however need to apply emergency braking, make sure you keep a straight trajectory and let the ABS computer do the rest for you.

Toyota’s Old School Bet – 2016 Land Cruiser

black toyota car steering wheelMore than a decade ago, 4×4 vehicles were built mainly to crush through off-road environments and then worry about driving on a flat, city road. This was the case of mythical monsters such as Land Rover and Jeep CJ: take no prisoners when running through the mud. As times advanced, automakers figured out the driver incline towards a high driving position on city roads. This is how crossovers were born.

Although looking quite sleek and offering a wide variety of safety and comfort features, modern day SUVs lack the capability of dealing with any off-road scenario that exceeds 5 inch deep mud. Since availability of older terrain vehicles is scarce, buyers orient their attention towards newly made cars which still possess the abilities of their ancestors. Toyota took a risky bet by offering an old school product: 2016 Toyota Land Cruiser is advertised to take on off-roading in the same rough manner as a Jeep CJ.

Was it worth the risk? Let’s find out together.

Construction and Design

The first thing that takes the 2016 Toyota Land Cruiser out of the ordinary is a complete lack of factory options. This 3-row SUV comes with just one fully loaded trim level; nothing to be taken off or added. The whole frame rests over 18-inch wheels, LED headlights and fog lights illuminate the path at night while heated auto-dimming side-mirrors ensure proper rear visibility. After all, you do want to check out the tracks behind you while roaming the hills.

Automatic wipers clean a deep-tinted privacy glass; passengers can witness the moonlight and reach out through a generous sunroof. Checked from the distance, 2016 Land Cruiser looks bulky nevertheless, boasting an air of superiority and toughness.

Performance

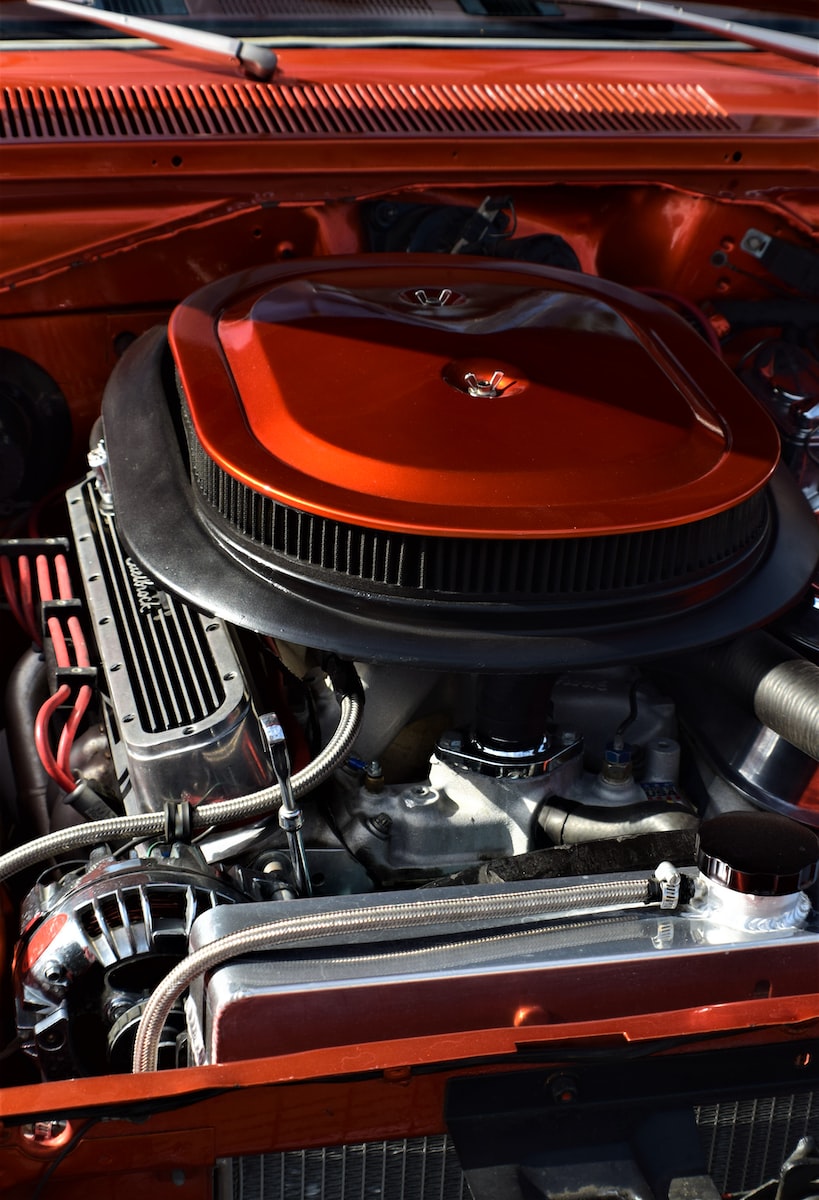
A 5.7 liter V8 engine can be found under the hood of the 2016 Toyota Land Cruiser. It delivers an impressive 381 hp and 401 lb-ft of torque. The entire force is delivered to the wheels through an eight-speed automatic gearbox and a permanent 4×4 traction system. While the numbers look amazing, you may just drop a tear finding out EPA estimates fuel economy at only 15mpg combined.

Apart from the engine, the Land Cruiser also comes with a center locking differential and the Kinetic Dynamic Suspension System. The suspension automatically tunes itself to maximize off-road performance and on-road handling. Drivers can also manually select a Terrain Control mode and the car will fine tune settings according to the current surface. Finally, there’s a 5-speed crawl control system, basically a low-speed cruise control for off-road time.

Interior and Safety

Fortunately, 2016 Land Cruiser isn’t just a show-off for off-road experiences; when checking out the inside, one will realize it is actually very user friendly. It boasts a 4-zone climate control with separated second row controls and vents for the third one. Front seats are covered in leather upholstery, heated and ventilated front seats. Power seating is available for the driver (10-way) and front passenger (8-way). Second row seats are split 40/20/40 while third row seating is allocated 50/50.

Toyota made quite some improvements for the 2016 Land Cruiser edition. Although boasting quality materials all over the inside of the cabin, it still lacks the premium feeling found in other luxury competitors. Tilting and height-adjustable steering wheel along with comfortable front seats are allowing the driver to attain the perfect driving position. Little is there to be praised about the seats on the third row. With little head and legroom, most average adults will have a hard time fitting in.

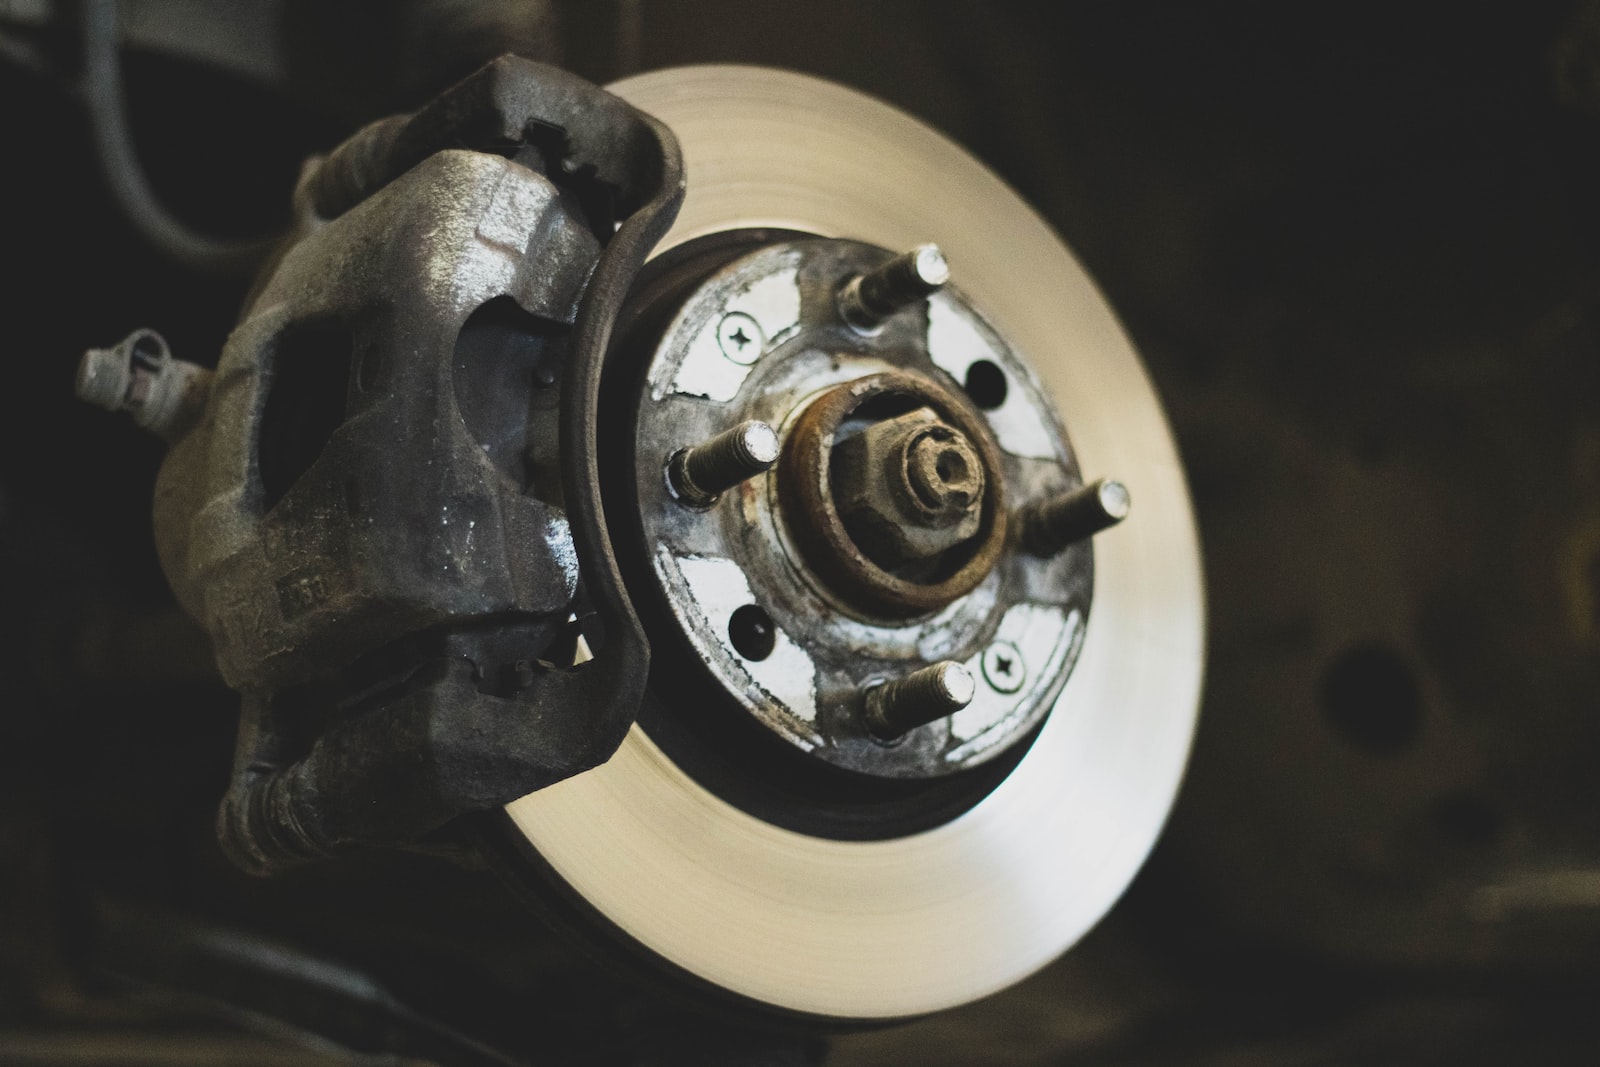
Toyota placed emphasis on safety features; the result uncovers as knee airbags, full-length curtain airbags, side airbags for the first and second row and active head restraints are all integrated in the 2016 Land Rover. Furthermore, it boasts anti-lock braking system, trailer-sway control (to keep control of an 8,000 pounds object being towed), emergency braking and lane-departure systems are also integrated.

Road Behavior

2016’s Toyota Land Cruiser offers a decent ride quality, enhanced by the quality materials chosen for the inside of the cabin. The V8 engine may seem a little soft at first, but once you firmly press the throttle, a nice rumble will erupt from beneath the hood. The newly added 8 speed automatic gearbox did develop some improvements in acceleration times, but it did not help on fuel economy.

Take it off the pavement and the Land Cruiser is king of the hill. Thanks to its high ground clearance and a full fleet of off-road driving aids, even the most inexperienced off-roader can feel like he’s able to tackle any rocks and hills without much trouble. Crawl control is probably doing most of the work, but hey, the feeling is what it matters in the end, right?

Insurance

Insuring a Toyota Land Cruiser can be costly. But the competition is steep and several companies provide affordable insurance on Toyotas in general and Land Cruisers:

All State Toyota Land Cruiser Insurance

Toyota Forsikring

Toyota Insurance Australia

Did Toyota win the bet?

The 2016 Land Cruiser is definitely a beast when it comes to off-road environment. It reveals the old-school take on what off-road vehicles used to be before they were entirely transformed into limping tarmac monsters called crossovers. While it definitely pleases through a decent amount of power and incredible rock climbing, mud swimming capabilities, Toyota still has a lot of work to do when it comes to fuel economy and storage space, both being way below the segment average. Also, since every available option is already included in the standard package, the Land Cruiser doesn’t come cheap, being almost the most expensive car in the segment. It’s $20,000 more expensive than Mercedes’ GL-Class and almost $18,000 more expensive than a Cadillac Escalade.

While city drivers looking for a heightened driving position behind the wheel may be drawn back by the sobbing fuel economy and reduced leg space on the third row, off-road enthusiasts will be willing to double their fuel budget in order to feel the awesome sensation of rock-climbing. No whining about lack of paint choices, limited cargo space or the usage of the almost-outdated electronic fuel injection, just pure wilderness driving without caring about any public road limitations.
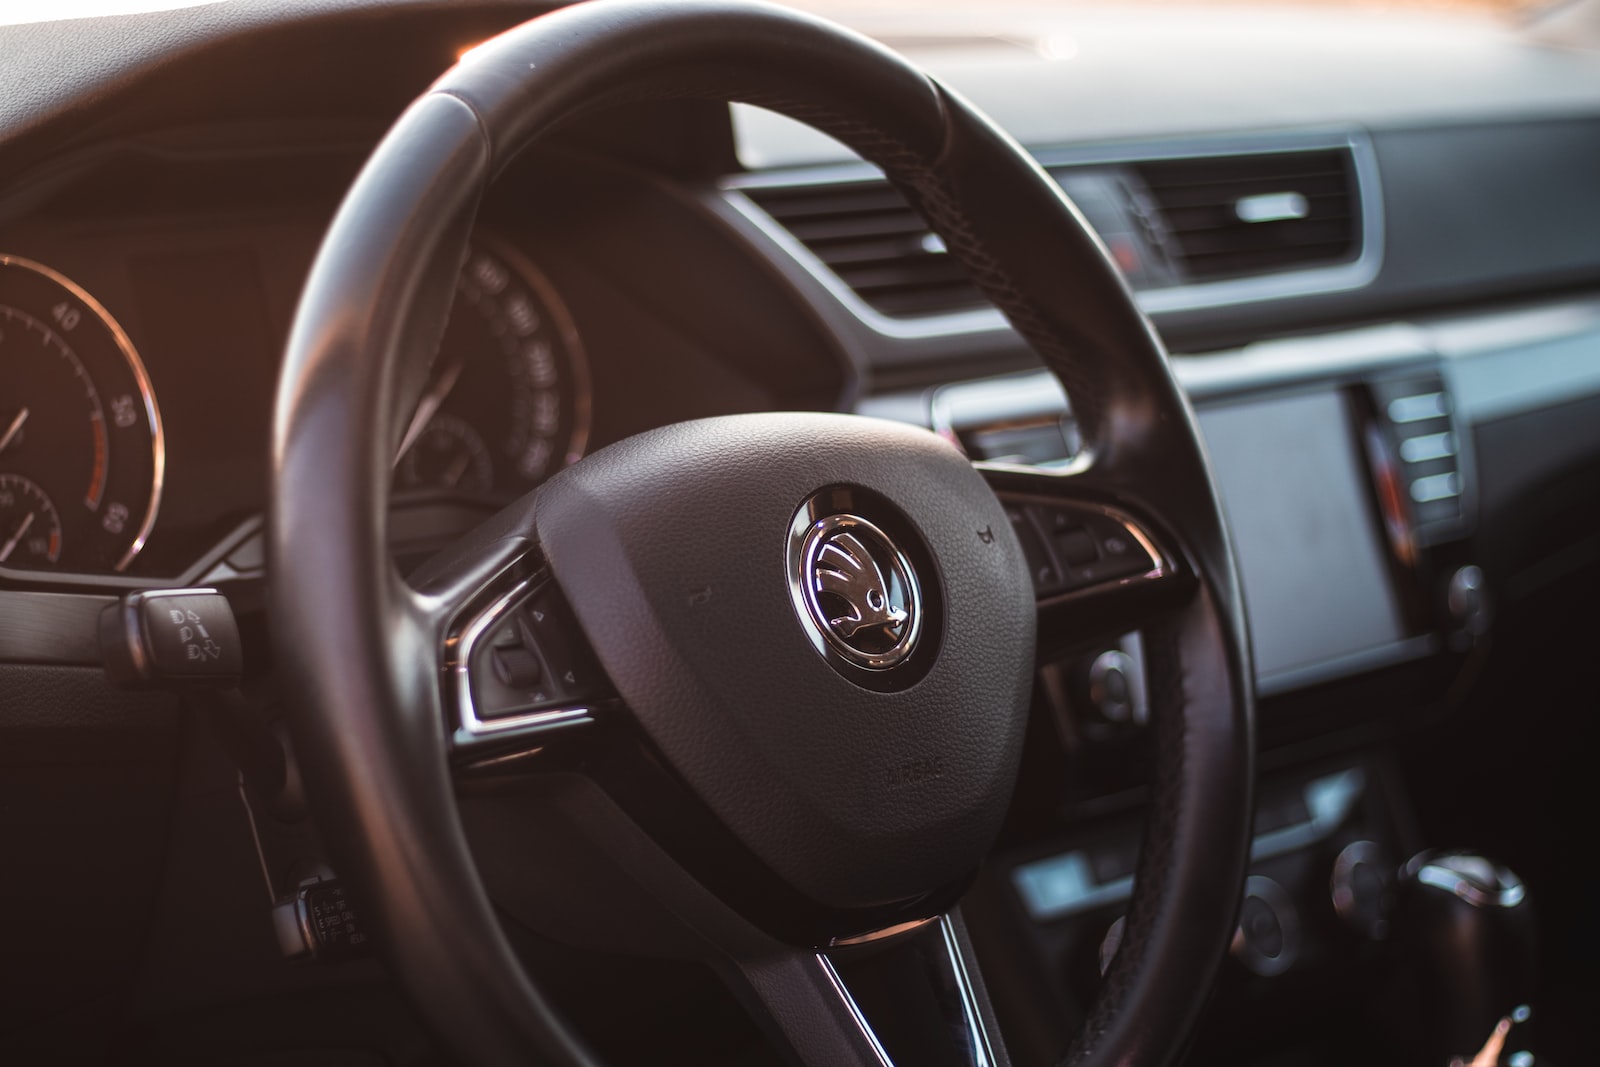
Find a Mechanic for your car

Most people don’t think about a mechanic until their car starts acting funny or the lights on the dashboard start screaming at them. By then it is usually too late and once you get your car into the shop you will have any number of problems that require fixing. Generally speaking most people tend to go with the same mechanic that they have used before. This doesn’t mean sticking with the same mechanic is a bad idea but much like doctors, using a different mechanic may make a world of difference for your car. Knowing where and who to take your car too should be more than just choosing the closest shop to your house.

Reviews

man in black jacket and blue denim jeans riding motorcycleLike any business mechanic shops get reviewed by their customers. This is especially beneficial when shopping around for a mechanic. Seeing how good or bad a potential mechanic shop is can make the difference between getting a lot of trouble and an expensive bill or quick and efficient service. Not all mechanic shops are created the same. Looking at online and consumer reviews will help weed out any potential problems. Also another good way is to ask friends, family, coworkers, and anyone else you trust who they recommend. Much like the reviews, recommendations can save a lot of time and money.

Type of car

Another thing to keep in mind is the make and model of the car. While most cars have a number of interchangeable parts, this isn’t always the case. Additionally certain cars require specialized servicing. This can be as simple as knowing where certain parts are located to a whole different knowledge base. Knowing if your car requires and/or if a shop can handle this before visiting can save the mechanic and yourself a major headache. This is especially true for older cars as finding certain parts may be more difficult for some mechanic shops than others. In the case of classic or vintage cars finding the right part can be all but impossible in some cases. This is especially true for a mechanic shop that isn’t familiar with these types of vehicles.

mechanic working on carConclusion

When everything is said and done, finding the right mechanic might take some time and a bit of trial and error. Once you do find a mechanic shop you are happy with you can rest easy knowing that your car is in good hands.